Difference between revisions of "Badge Maker"
(→Summary) |
|||
| Line 7: | Line 7: | ||
= Summary = | = Summary = | ||
| − | The badge maker makes | + | The badge maker makes 58mm badges. |
= Using the Badge Maker = | = Using the Badge Maker = | ||
Revision as of 18:37, 25 April 2019
Equipment / Badge Maker
Under Commissioning
Contents
Summary
The badge maker makes 58mm badges.
Using the Badge Maker
Owners
Training
See owners for occasional demos.
Health and Safety
Instructions
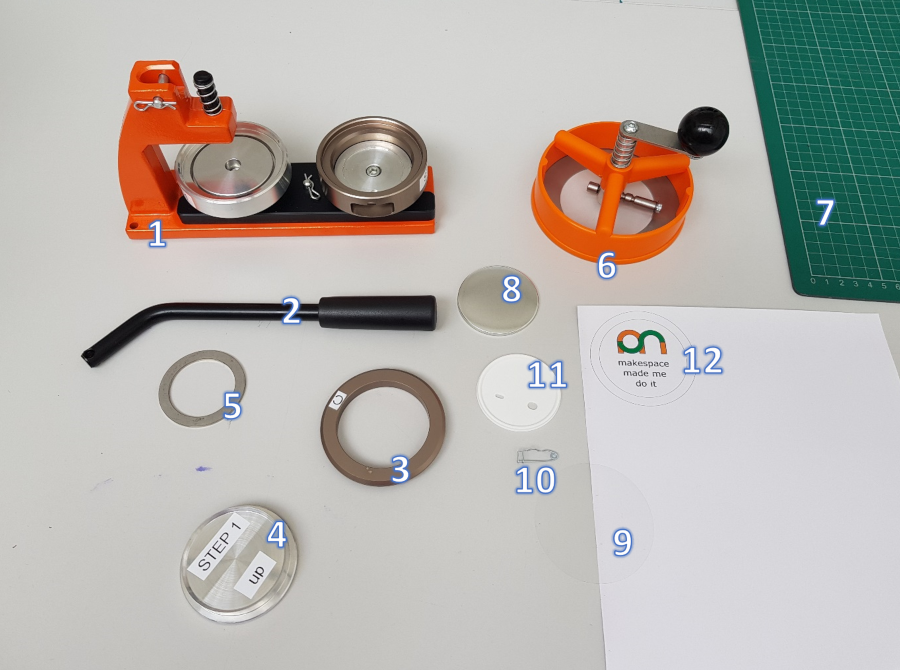
You will need:
- Badge maker
- Handle
- Grey Ring C
- Centre Punch
- Metal ring
- Cutter
- Cutting mat
- Badge Front
- Clear Plastic Disc
- Pin
- Badge Back
- Artwork (see useful files section below for template)
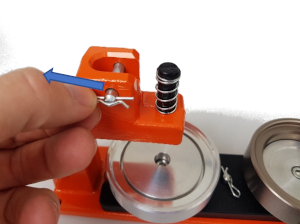
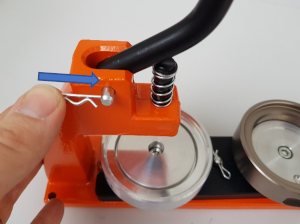
Assemble the press
Remove clip
Insert handle
Insert clip
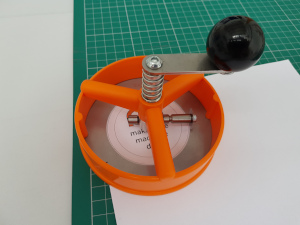
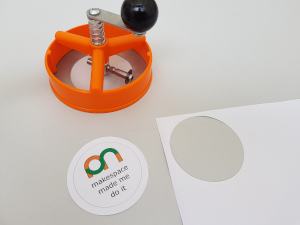
Cut out the artwork
Use a cutting mat to protect desk
Align cutter over artwork
Turn Handle
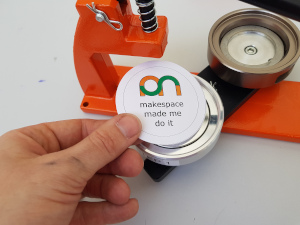
Step 1
Put metal badge front into die A
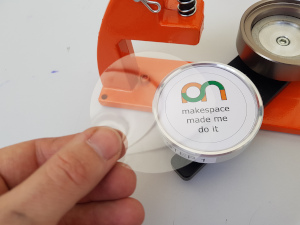
Put artwork on top of metal badge front
Put clear plastic disc on top of artwork
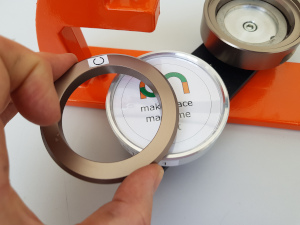
Put grey ring C on top of plastic disc
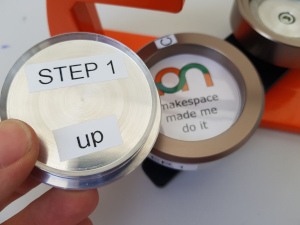
Put centre punch on top
Make sure “step 1 up” stickers are facing up
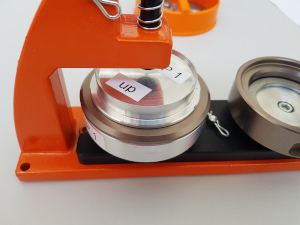
Align the whole stack under the handle
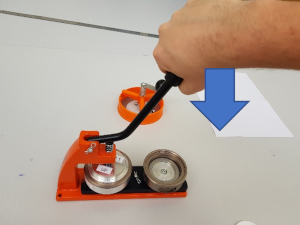
Push down on handle
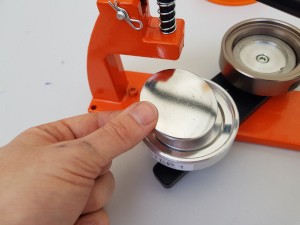
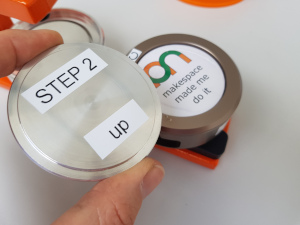
Step 2
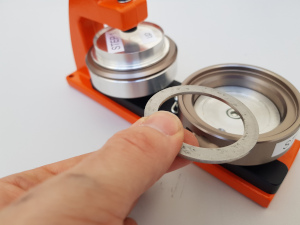
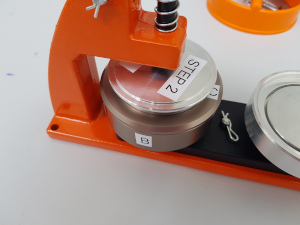
Place metal ring in the bottom of die B
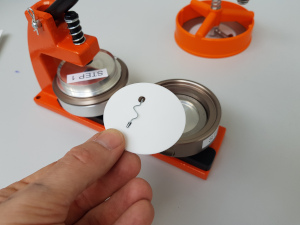
Install pin into badge back
Put badge back into die B
Ensure “Z” of pin is facing up
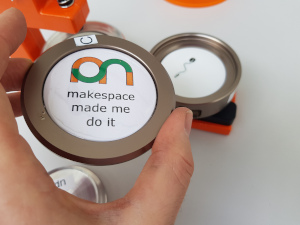
Move ring C complete with badge front and artwork to die B
You may wish to consider the pin in relation to the artwork
Put centre punch on top
Make sure “step 2 up” stickers are facing up
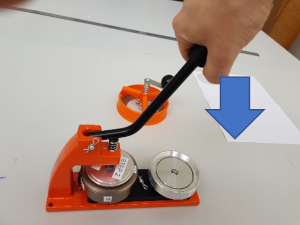
Align the whole stack under the handle
Push down on handle
Done
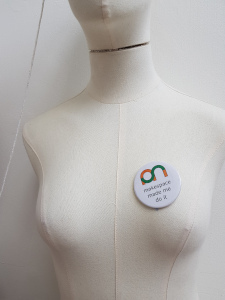
Remove the finished badge and wear with pride!
