Badge Maker
Class Green equipment: Negligible risk. No formal training is required or offered. If you need help just grab the nearest member and ask.
(More about equipment classes)
Contents
Summary
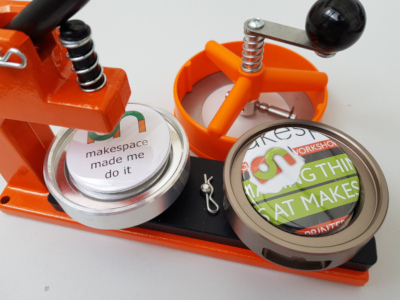
The badge maker makes 58mm badges. It lives in a box in the craft room.
Using the Badge Maker
Owners
- Andrew Burrows
Training
See owners for occasional demos.
Safety
- Pins are sharp, be careful when fitting them into the badge blanks or pinning the badges to clothing.
- Do not allow body parts to get tangled in the badge maker during use.
Supplies
Bags of supplies are available, each bag contains enough parts to make 10 badges. You can pay for your supplies on iZettle (coming soon).
Instructions
The badge maker is not hard to use but there are a few things you need to get right to get good results. Make sure you read the instructions below (or the ones in the badge maker box) before attempting to use the equipment.
Video Instructions
This video on youtube shows the operation of the badge maker.
Getting Started
You will need:
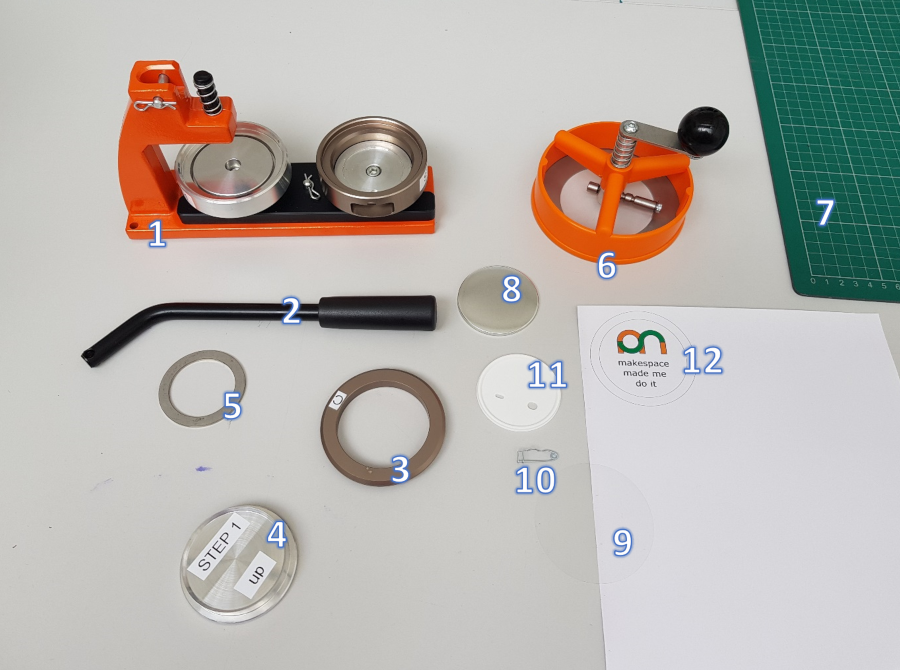
- Badge maker
- Handle
- Grey Ring C
- Centre Punch
- Metal ring
- Cutter
- Cutting mat
- Badge Front
- Clear Plastic Disc
- Pin
- Badge Back
- Artwork (see useful files section below for template)
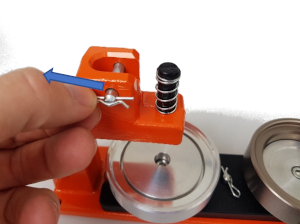
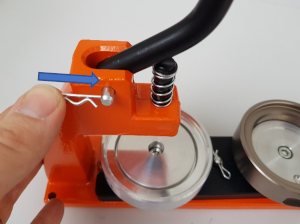
Assemble the press
Remove clip
Insert handle
Insert clip
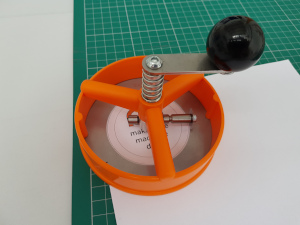
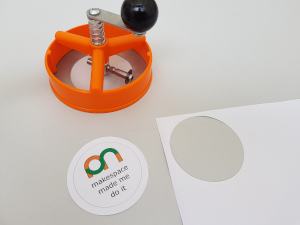
Cut out the artwork
Use a cutting mat to protect desk
Align cutter over artwork
Turn Handle
Step 1
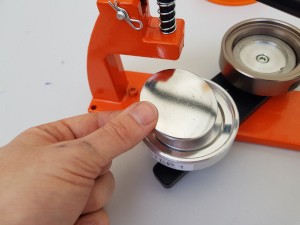
Put metal badge front into die A
Put artwork on top of metal badge front
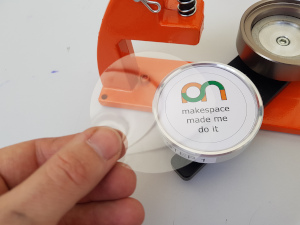
Put clear plastic disc on top of artwork
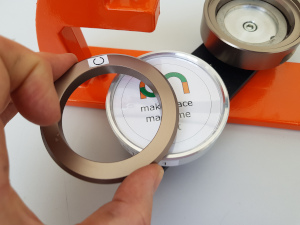
Put grey ring C on top of plastic disc
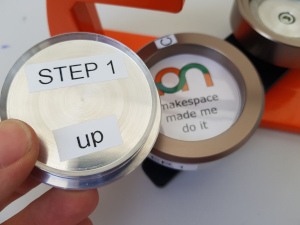
Put centre punch on top
Make sure “step 1 up” stickers are facing up
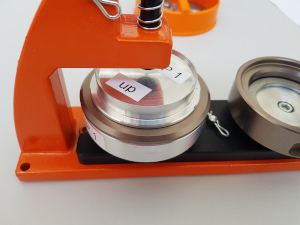
Align the whole stack under the handle
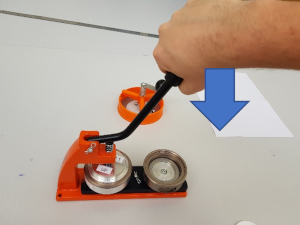
Push down on handle
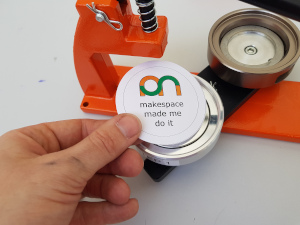
Step 2
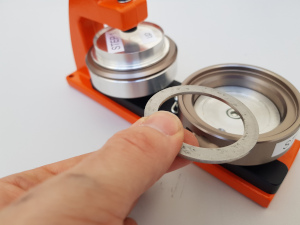
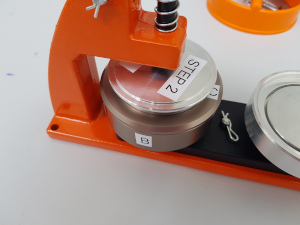
Place metal ring in the bottom of die B
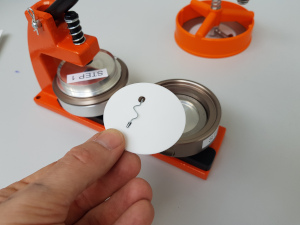
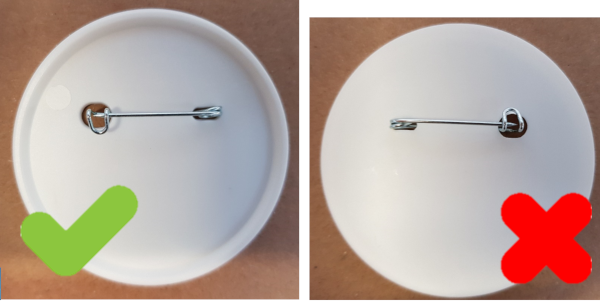
Install pin into badge back
Put badge back into die B
Ensure “Z” of pin is facing up
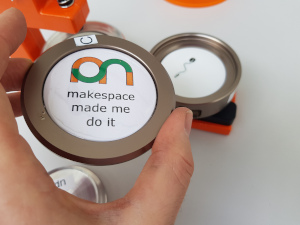
Move ring C complete with badge front and artwork to die B
You may wish to consider the pin in relation to the artwork
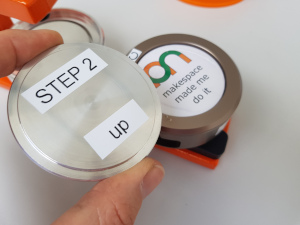
Put centre punch on top
Make sure “step 2 up” stickers are facing up
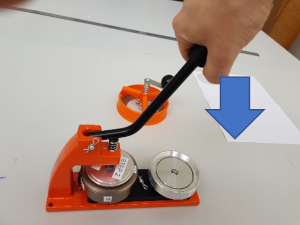
Align the whole stack under the handle
Push down on handle
Done
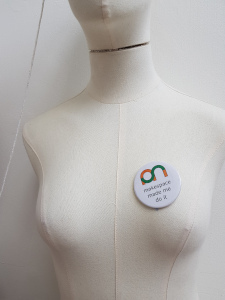
Remove the finished badge and wear with pride!
Top Tips
Make sure you install the pin the correct way around in the badge back.
Don't forget to install the metal ring in die B.
