BitmapLaserEngraving
Miguel Morin (this author) tried to reproduce the bitmap engraving on display at MakeSpace, which the creator no longer remembered. I used ImageMagick's convert function with some settings.
First, I decided to use scan gap 0.05, or 20 pixels per mm, or 508 pixels per inch. That is the density. Then I divided the size of the piece I wanted to engrave by the density to obtain the size of the image in pixels. In my case, it was 1920x2560. I added "^" at the end so ImageMagick adjusts the size of the image to be higher than either of the dimensions, possibly adding a bleed:
convert /path/to/input/file -resize 1920x2560^ -density 5080 /path/to/output/file
The next command converts this resized image to a 1-bit bitmap, either black or white, i.e. either on or off:
convert /path/to/output/file/from/above -colors 2 +dither -type bilevel /path/to/final/output/file
This file is ready for LaserCut 5.3.
I tried both commands at once and LaserCut interpreted the output file as a grayscale and engraved only the darkest pixels. Doing it in two steps seemed to work.
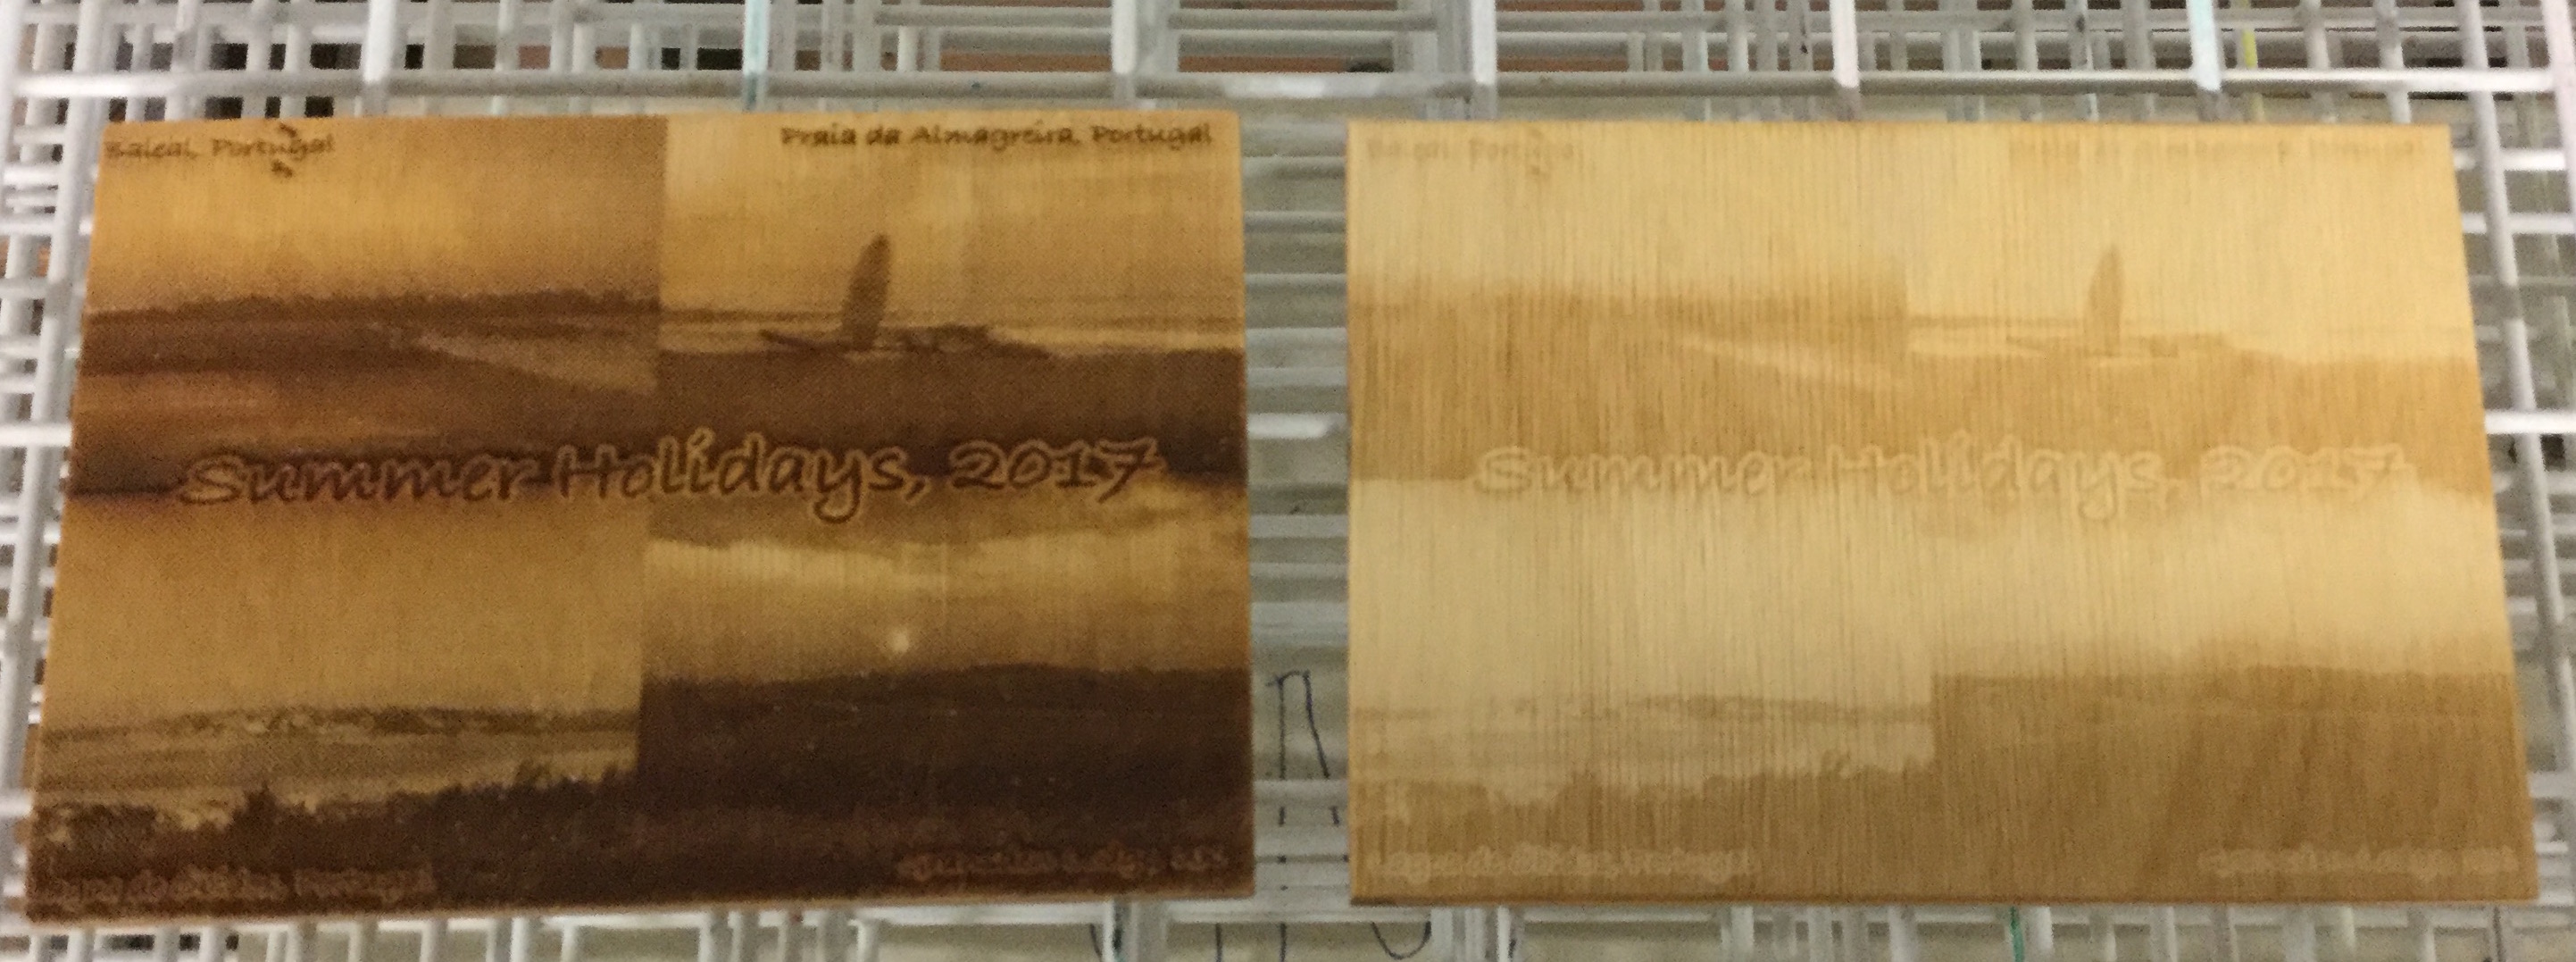
I also tried half-toning the image and got different results, with more grain, but also a better overall resolution. The picture below shows the half-tone engraving on the left (made with Illustrator) and a dither engraving with the above details. Both pieces are stained with Tru-Oil 3 times. The staining compressed much of the contrast between black and white on the piece to the right.
