Equipment/Drill Presses
Class Orange equipment: Only use if you are confident doing so. Training is available if not.
(More about equipment classes)
Contents
Summary
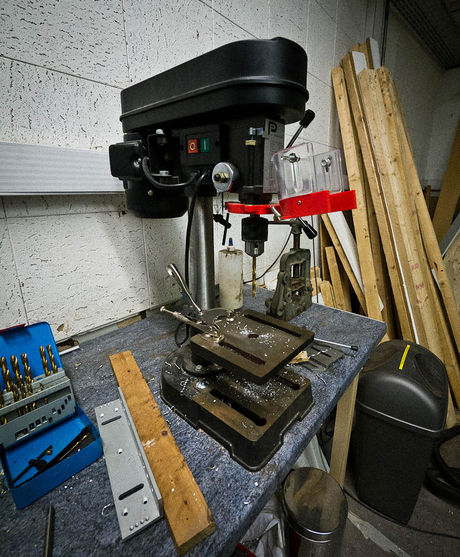
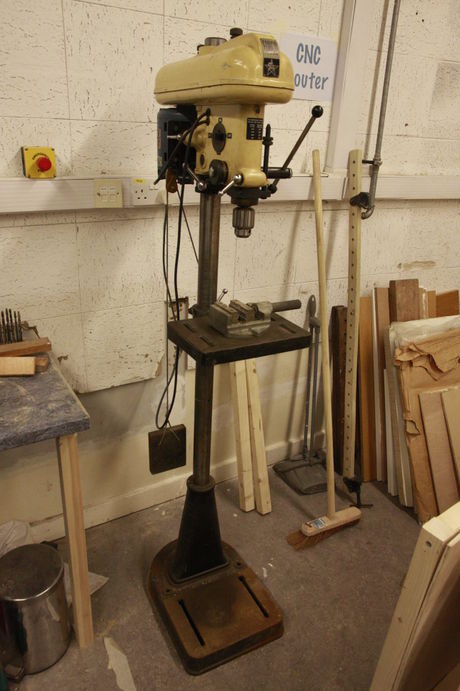
A pillar drill/drill press has an electrical motor that rotates a replaceable drill bit to make a hole in wood, plastic, or metal. The parts of a pillar drill include the handle, an on/off switch with a reversing for changing the rotation direction of the drill bit, a drive belt and gearbox for speed adjustment, and the chuck that holds the drill bit in place.
Using the Drill Press
Owners
?
Health and Safety
Sharp Object/material
- All drills to be kept in their holders until they are required.
- Wait for the drill bit to stop moving before using the chuck.
Slips, Trips and Falls
- Waste material/offcuts to be kept clear of work area.
Fire
- Equipment will be checked for defects before each use to minimise the risk of possible electrical faults or fire.
- Carbon Dioxide extinguisher to be available for any electrical fires
Electric shock
- The equipment will be checked monthly to ensure that there are no defects in the wiring, switch and motor.
Sight/Noise/Dust/Vibration
- Wear eye protection to prevent flying chips or broken drills doing any damage to them.
Training
Instructions
If you've never used a pillar drill before, please watch this video first Drill Safety & operation (Video)
Never wear loose clothing or dangling jewellery which could catch in the drill as you lean over it. And always wear eye goggles to protect yourself from flying dust and swarf.
The drill bit will become hot with use so keep you hands off it.
Make sure you use the correct drill bit and speed for the type of material you are drilling into. For example use a wood bit for timber and a high-speed steel bit for metal. Use the pulleys to adjust the speed as appropriate for the material and drill diameter. A useful guide is available here.(A guide should be printed and posted in the workshop)
It is important to be aware that halving the drill diameter reduces its strength 8 times. A large drill requires a lot of force before it cuts properly. The swarf should come off in spirals. Small drills are very easy to break so be guided by the swarf. Press just hard enough to create the spirals and no harder. Drills smaller than about 2 mm should be used in a smaller tool because it is not possible to feel how hard to push. The force of the return spring is too dominant.
Tips & Tricks
- Keep work area clean and well lit. Cluttered and dark areas invite accidents.
- Keep bystanders away while operating the drill. Distractions can cause you to lose control.
- Remove the chuck key before turning the drill on. A key left attached may result in personal injury.
- Do not overreach. Keep proper footing and balance at all times. This enables better control of the power tool in unexpected situations.
- Dress properly. Do not wear loose clothing or jewellery. Keep your hair and clothing away from moving parts. Do not wear gloves.
Maintenance
Every month inspect for damage and general wear and tear (including drive belt).

